CAD Rendering: How to Render Revit, SketchUp and AutoCAD Files
CAD rendering is the step between a finished model and an image anyone wants to look at. Revit, SketchUp and AutoCAD files all take the same three routes from model to photoreal image, and the state of your file decides how smoothly it goes. This guide covers all three, plus the prep checklist that keeps a render on schedule. Short on time? Our architectural rendering service works directly from your files.
By the Smart 3D Render studio · Published · Updated
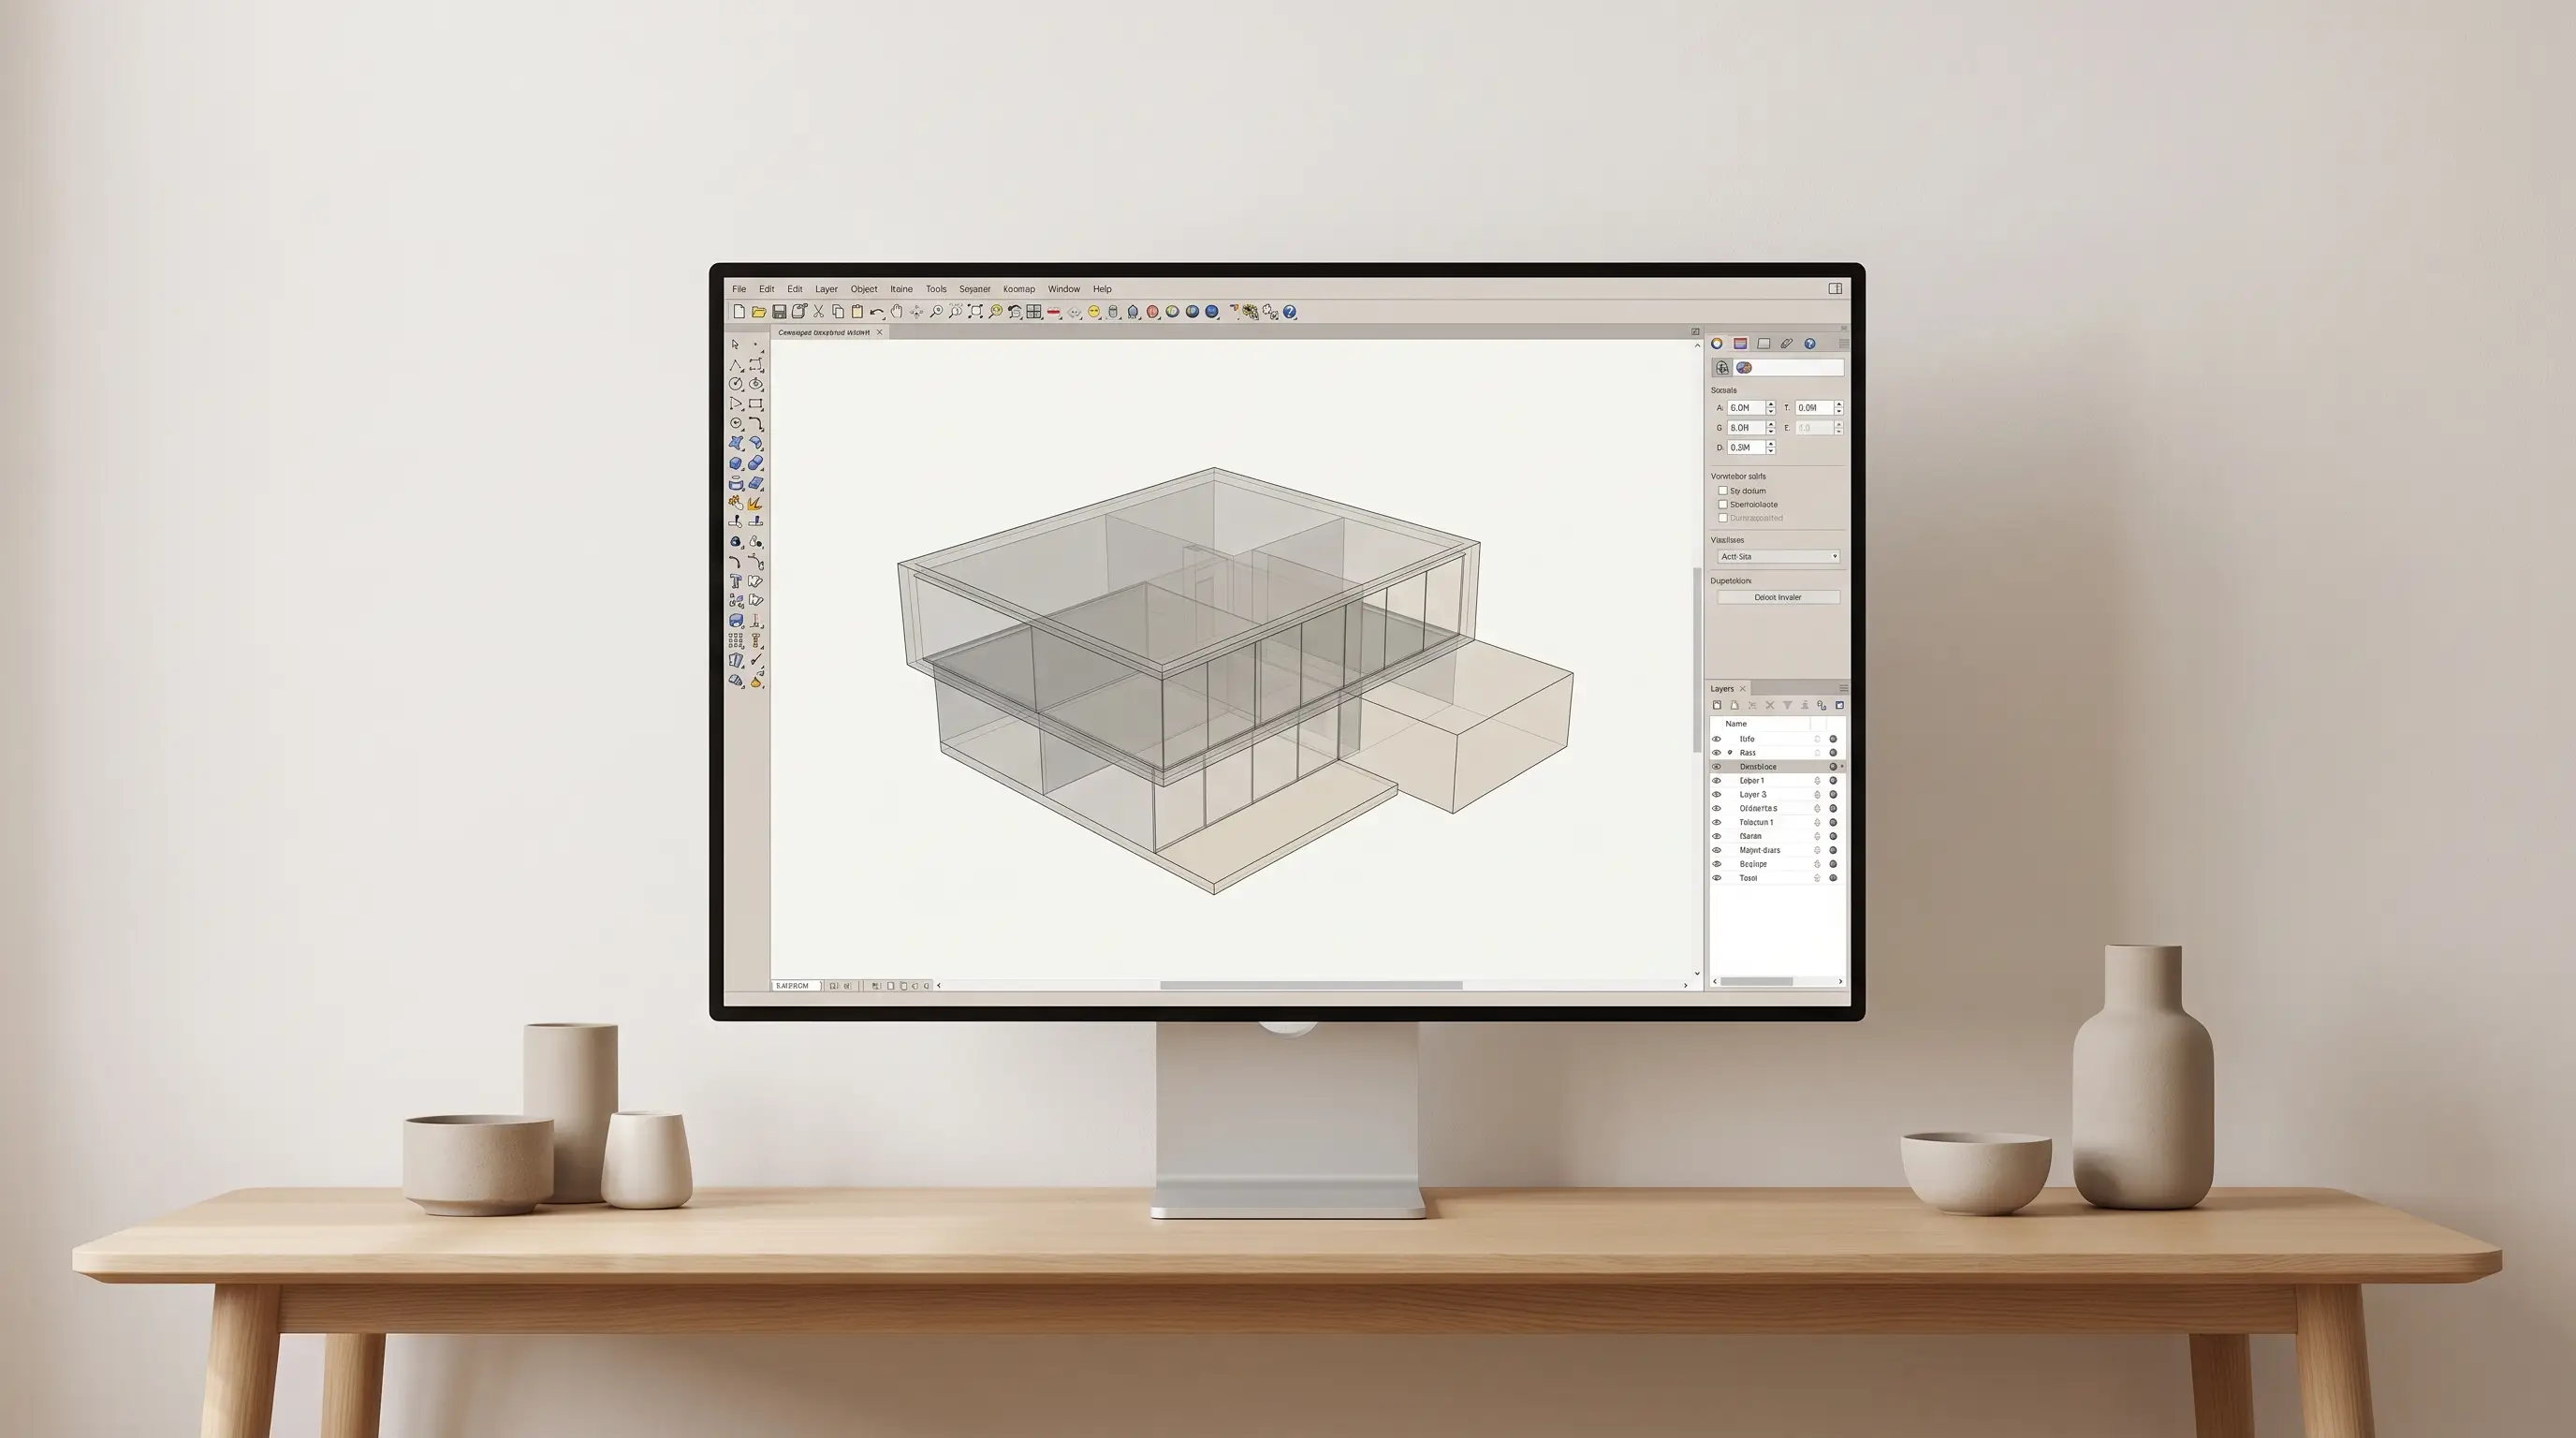
Three ways to render a CAD or BIM model
- Native rendering, use the renderer built into your CAD/BIM tool. Convenient, limited quality.
- Real-time plugin, add Enscape, D5 Render, or Twinmotion for fast, good-looking output without leaving your app.
- Export to an offline engine, send the model to V-Ray or Lumion for maximum photorealism.
Revit rendering: options and workflow
Revit has a basic built-in renderer, but most architects render Revit models with a plugin. Enscape is the go-to for live, real-time Revit rendering because it reads the model directly and updates as you edit. For higher-end stills, teams push Revit to V-Ray, or run a Revit-to-Lumion workflow, exporting geometry and materials into Lumion for its rich landscaping and atmosphere. Keep Revit materials clean and named; they carry through the export and save hours of reassignment. What each of these programs costs is in 3D rendering software compared.
SketchUp rendering: plugins and export
SketchUp's own output is diagram-grade, so SketchUp rendering almost always means a plugin. Enscape, V-Ray for SketchUp, and D5 Render all integrate tightly. Because SketchUp geometry can be loose, the biggest quality wins come from clean modelling: avoid reversed faces (they render dark), weld coplanar surfaces to stop flicker, and group components logically so materials assign cleanly.
CAD rendering from AutoCAD and others
Pure 2D CAD can't be rendered, it has to become 3D first. For CAD rendering, either model the geometry in 3D within your CAD tool or export the linework (DWG/DXF) into a modelling app and build from it. Once you have solid 3D geometry, the same plugin or offline-engine routes apply. Confirm units on export; a model that imports at the wrong scale is the single most common CAD rendering problem. If the drawings themselves need redrawing first, CAD drafting services turn a PDF or a scan into clean CAD.
Prep checklist before you render
The state of the file you hand off has a bigger effect on cost and turnaround than almost anything else. Run through this before rendering, or before sending a model to a studio like us.
- Confirm real-world units and correct scale on export.
- Delete construction lines, hidden duplicates, and stray far-off objects.
- Cap open solids; weld coplanar faces to prevent z-fighting flicker.
- Fix reversed / double-sided faces so they don't render dark.
- Group and name elements logically (walls, glazing, furniture, site).
- Include materials or a material schedule, plus a couple of reference images for mood.
- Export in a shared format (IFC, OBJ, FBX) if the studio isn't on your native app.
When to outsource CAD rendering
If rendering is occasional, the licence fees and learning curve rarely pay off. Handing a clean Revit, SketchUp, or CAD file to a studio gets you competition-grade images without owning the pipeline, and a good studio will flag anything in the model that won't render well before starting, saving you a revision round. The steps of an order are set out in the 3D rendering process.
A prepared file is where a render starts. The architectural rendering service takes it from there to the finished views.
Architectural rendering services